A few weeks ago, Caryl bought a footstool from an antiques shop. She recently challenged me to duplicate it -- she thinks she knows where she might be able to sell a few, and if not, it'd still keep me off the streets and give us something else upon which to rest our feet. So I took some measurements and got cracking. (Lots of pictures this time!)
 |
| The original footstool, after Caryl modified it with a circular saw. |

 |
| Just as a quarter-pounder burger doesn't have ¼ of a pound of beef after cooking, a 1x10 isn't 10" wide after drying. |

Wouldn't it be great if I could cut the slots for the bridle joints with one pass of a powertool? Not going to happen. My dado blade isn't big enough to cut away 3.5". But I can cut as much of the slot as I can and then lay the stock flat on the saw's table and gently, gently advance it into the dado blade until the leading edge of the blade cuts as far as the desired slot should go. Then flip the piece over and repeat on the other face. The resulting peaked material in the slot is all that needs to be removed by handsaw.


 |
| With both pieces resting against the fence and against the clamped-down mitre gauge, we see three indicators that I erred: One dimension is shorter, the other is longer, and the slots don't line up. |
 Next I marked reference lines on the 1x4 cross-pieces to line them up on the end-pieces. (Rather than cutting grooves into the cross pieces, as on the original, I cut the slots in the end-pieces wide enough to accept the full width of the 1x4.) One side went in with finger-pressure, and the other required gentle tapping with a wooden mallet. In the photos, note that I'm still using scrap 1x2s to keep the slots from being compressed -- I was paranoid about squeezing the wood and breaking it.

As it turned out, it was expansion pressure that snapped the wood. When I finished cutting those slots by hand, I missed a small nodule of wood in one of the slots. As I tapped the cross-piece with the mallet, the piece rode the nodule and pushed out. Well, I'll deal with that later. The point of this process is to let me mark where to drill on the cross-pieces. Several months ago I read someone's project description, and he mentioned using a Forstner bit and hammer to mark the desired place to drill. I copied the technique. (In hindsight, I suppose I could've also used the ½" brad-point bit). I also marked the slots and the corresponding ends of the cross-pieces so that any minor imprecision wouldn't matter when fitting the pieces back together again at the end. I then set the Shopsmith up as a drill press and lined the tip of the brad-point bit with the nicks in the wood made by the Forstner bit.


 |
| There goes my goal of not using any glue in this project. |

Day 2. Out comes the bandsaw. I decided to cut the curve on both cross-pieces at the same time. I used painter's tape to hold the two pieces together and made a single pass through the bandsaw. I'm sure a couple of dabs of hot-melt glue would've been better. Nothing went wrong with the cut, but I had to make sure I was holding both pieces to keep the stack rigid. For the end-pieces, I cut one end and then used it as a template to mark the cuts for the other end. I also decided to try relief cuts. None of the curves were particularly tight, but was nice knowing that the bandsaw wasn't going to fight me. I think I might make a habit of using relief cuts.


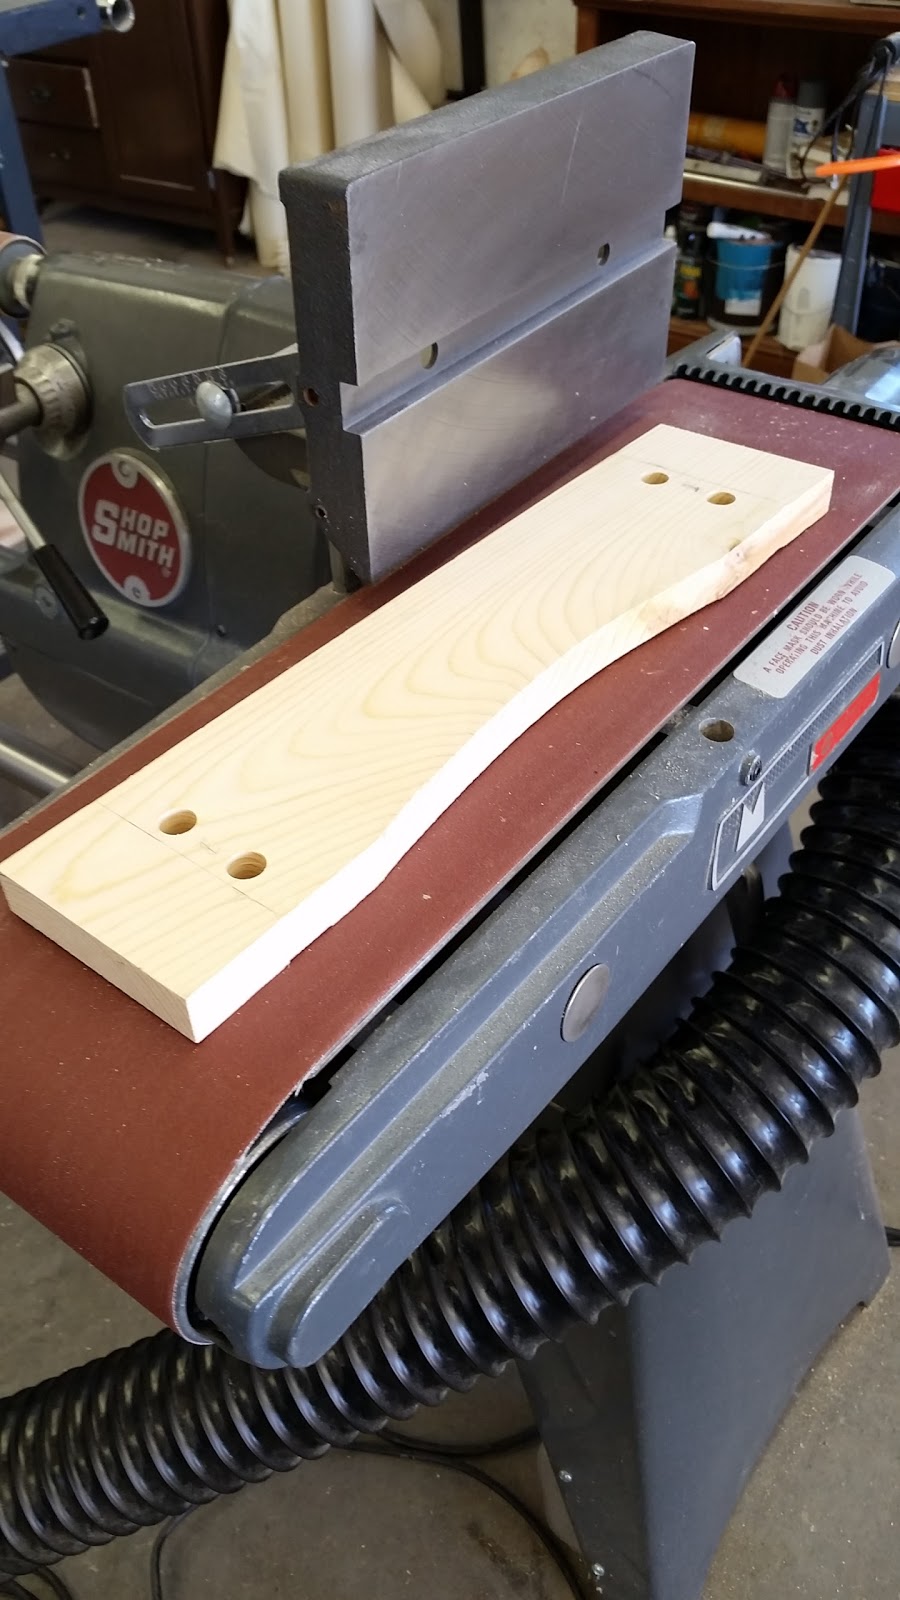
Then comes the sanding. I used the belt sander to smoothen the convex curve cuts and to give a preliminary sanding to the faces and straight edges. (In one of the photos you can see that not only do I have 1x2 spacers in the bridle slots to avoid compression, I'm also using a clamp to keep the belt sander from pulling the slots open.)


The drum sander, obviously, didn't fit all the way to the apex of the peaked arch. So I did as much as I could with the drum sander and finished the arch by hand. I have a bucket full of "sliver scraps" that keep coming in handy. I grabbed a piece of 2x4 that's about 3/32" thick and used that as a sanding block. (Yes, I just used the word "about" when specifying down to 32nds of an inch -- it's more than 1/16" but less than 1/8".)


Then I used a palm sander to take care of the final sanding and rounding of sharp edges. As much as I like using the belt sander, I can change grit on the palm sander much faster. And then came time to stain the pieces. The butcher paper isn't to protect the table; it's to protect the footstool. The table top has accumulated enough bits of paint and other detritus from various projects that I didn't want transferring into the footstool. I started with what I thought was going to be a dark cherry stain, but when I saw the wood was absorbing more red than I wanted (especially the cross-pieces), I brought in some basic brown to darken it up.


Assembly was pretty straight-forward. Most of the dowel pins went in with firm pressure, and three of them required urging from the wooden mallet.

 And now the base is complete. No glue used except for the repair to the broken end-piece. No fasteners except for the dowel pins. Ta-da!
But the project's not done yet. A footstool kinda needs someplace to put your feet.
 We have several scrap pieces of 3/8" plywood leftover from building the chicken coop. I selected a piece that's bigger than I needed and that was (and I can't emphasize the importance of this enough) still flat. Sure, it's teal blue on one side and white on the other. So what? It's going to be covered with a cushion and swede. If the small part that's visible from the underside actually bugs me, then I'll hit it with some dark spraypaint. The original footstool had an oaken top beneath the cushion and leather, so I guess using plywood makes the third planned departure from the original.
First I cut it down to the approximate size and then, using the one edge that I knew was straight, I trimmed it down to the final dimensions with 90° angles. No need for sanding toward a finish, so I hand-sanded the edges and rounded the sharp corners to protect the swede.

 I didn't want to screw the top directly to the base for two reasons. One, I wouldn't be able to access the screw heads to remove the top for re-upholstering if needed. Two, after putting the cushion on the top, I wouldn't be able to access the screw heads to fasten it in the first place. I suppose I could've used pocket holes and screwed from underneath -- and if I had a pocket hole jig I just might've. Instead I found a 1x2 that wasn't too long and ripped it into something resembling a pair of 1x1s. I pre-drilled the 1x1s and marked each 1x1, cross-piece, and the top for re-assembly after all holes were drilled. I selected 1¼" screws to fasten the 1x1s to the cross-pieces and 1" screws to fasten the 1x1s to the top.


After pre-drilling the 1x1s, I screwed in the 1¼" screws just enough that the tips were poking out the other end, and then I squeezed the 1x1 into the cross piece, marking the place to pre-drill the pilot holes in the cross-piece. Since I was drilling by hand, I put some electrical tape on the drill bit to make sure I didn't drill all the way through. I then repeated this process for the top, using the rigid base to make all four drill marks at the same time. The 1" screws seemed to hold the top just fine, but to give them a little extra bite into the top, I grabbed a 5/16" bit and provided enough countersink that the screws should have a firm hold of the top without poking through into the cushion. (It was the fear of poking through into the cushion that led me to use 1" screws instead of 1¼" screws.) I screwed it all together, and the top was done.


 Screw the top back on, and we have ourselves a new footstool.
Okay -- Lessons Learned.
 The joints. The original used bridle joints, and so I did too. I already discussed that I couldn't do the full slot using my dado blade. Well, it turns out that when I finished it by hand I cut too far. Going back into some pictures I didn't include here, it's obvious that I didn't mis-mark the depth of the cut; I cut past the pencil line. On the next one (assuming the potential buyer is interested) I'll use a half-lap joint. That I could do it entirely with the dado blade is argument enough, but there's more: I'd be less likely to cut too deep, and if I did it would be hidden by the joint. Yes, the lower set of the dowel pins would be purely decorative, but it'd hardly be the first time someone put something decorative on furniture!
Speaking of the dowel pins. When I cut the dowel pins, I determined the length without considering the curvature of the end-pieces. On the top dowel pins, it's no big deal. The bottom dowel pins should be 1/4"-3/8" shorter.
 The ends of the cross-pieces. In the original they're beveled; in mine they're simply perpendicular. Beveled definitely looks better.
The direction of the grain. It's clear that having vertical grain would've almost certainly been smarter. If I continue to use 1x10 for stock then I'll have to accept having a narrower base. I suppose I could start with 1x12 and rip it down, but I don't think there'll be much of an issue with having a 9" base instead of a 10" base.


