WARNING!!
All content on this website is copyrighted. Do not use any content of this website without our written permission, to include photos.


Sunday, July 31, 2016

I've got Pokemon Go! beat!

All the world is buzzing with the new smartphone game Pokémon Go! People wandering around trying to "capture" pre-stationed cartoon characters. It does get people outside and to knew undiscovered locations.  I honestly do not see the fun in it. But I can see the value in the hunt.  But I've got the game beat!

Since we've had a week of only low 90s the past week at the station, we decided to get some of the outside work done while we could still function outside.  (We'll be well over 100 humid degrees again this week.) One of our projects, well MY projects, is lifting the height of the septic tank clean out stacks for both the house and the barn.  When we moved in, just the top 2 inches of the domed caps were visible.  I thought nothing of it, as they were white and easy to spot in the crummy "lawn".  That spring, as the grass I so carefully babied the autumn before and pre-fertilized in spring began to grow, and grow and grow.  Still I could spot the caps when I mowed.  In fact, our OLD mower would sometimes chink the tops and they would be easily spotted.  I distinctly remember thinking to my self that I should glue quarters to the tops of those caps so IF they ever disappeared, I could locate them with our metal detectors.  At that point, I must have been distracted by a puffy cloud or a butterfly or something, because I never DID glue those quarters to the tops.

Fast forward a year.  and TWENTY cubic yards of new dirt and naturally composting lawn and thatch, and my caps are missing.  I knew the general location of one.  It was near the old, old chicken run. Some grid walking and foot swooshing later, I managed to catch a glimpse of a one inch patch of white PVC in the deep lawn.  I marked it with a lawn flag.  I KNEW the other one was between that find and the taller 2 foot cleanouts in the hayfield.  I KNEW where is was, or so I thought.  I was off by about 8 feet.  When found, it was marked with a flag. 

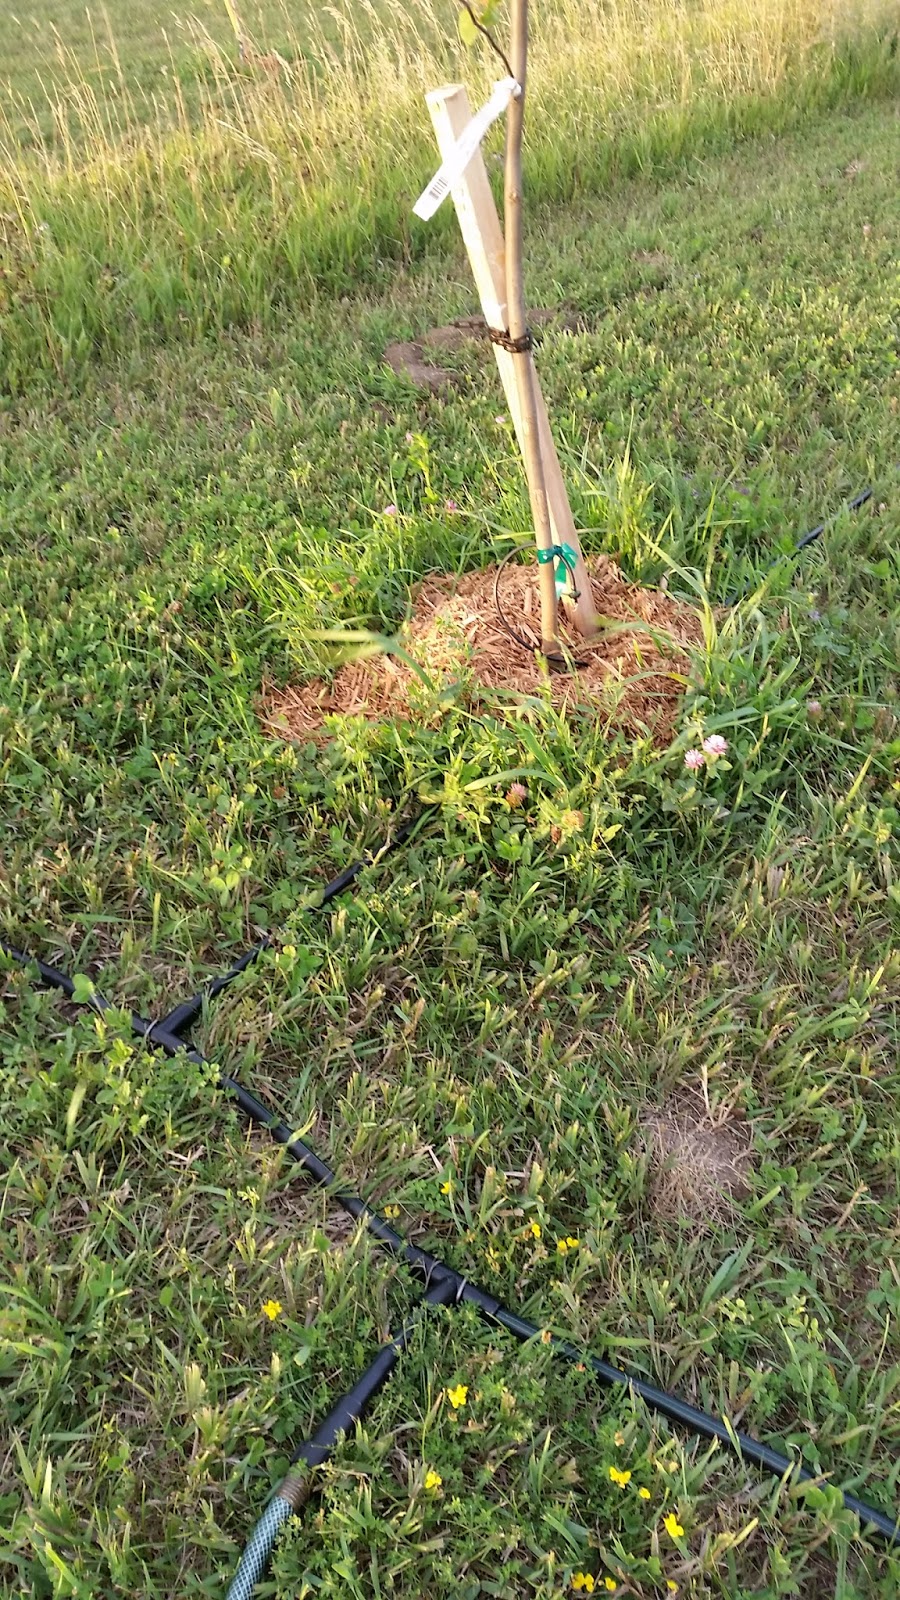
Now came the hard part.  There are two more in the real back lawn. I LAST saw them right after the debacle with the crummy landscaper we had.  He constantly ran over them with the bobcat.  When he scrapped the topsoil, what was left of it, away he covered my clean outs with grass seed and then that idiotic hay netting.  When his attempt to grow grass on compacted clay failed, I added a couple inches of composted black topsoil and seed.  I worked around the caps, on purpose.  They remained visible, for a while.  Each week the lawn grew up and out, it's thickness increasing.  Each time I would mow I would see less and less of each of the caps.  Until one day, I not only didn't see them, I didn't even notice they were missing and went on with the day. 

We had a general idea of where they were, but that a LOT of guessing for a 4 inch circle in 2000 sq ft.  YOU'D THINK they'd be in a straight line, but aren't. 

We started by just walking the yard poking the lawn with rebar. That didn't work. 

Then we figured where the line came out of the house and drew a straight line to the known line further out in the hayfield.  THAT didn't work.

We then searched through photos of the yard we took while playing with the chickens or detailing the bad landscaping job.  THAT didn't work.


We sought the help of the internet at this point.  We loaded Google Earth time machine and went back to an aerial shot of the property right after the house was built.  While we didn't locate the caps with this method, we did figure out we were about 3 feet too far north in our search. But then....BINGO, Doc found one of the caps by the driveway about 6 feet from where we KNEW it to be. 

There is still ONE missing.  Sigh. 

We took angle and distance measurements from Google Earth.  We paced it out.  We dragged out the cell phone compass app.  We played with the 100 foot long tape measure. No luck. SIGH.

It was becoming an after dinner obsession.  As the temperature would drop near sunset, we could be seen pacing the yard, putting out guessing flags, poking, raking thatch, swapping theories, then the sun would set and we'd be forced to stop for the night.  The hidden PVC cap mocking us in the cool evening protected by its veil of darkness and mosquito army.

Yea, it was getting personal.

Thursday evening we had cloud cover and a cooler breeze, which made it a PERFECT candidate to wash the windows on the barn and house.  It was during this 72 window marathon that I discovered ANOTHER cleanout vent hidden beneath a window, buried in landscaping stones and covered with landscaping fabric.  This confired the Google Earth assessment of the line being 3 feet further south than we had been looking.

Renewed by this exciting find, we went high tech after the sun went down.  We used our laser printer on the newest cap and aligned it with the nearest the driveway. The missing cap HAD to be in a line bewtween the two.  As we tipped the laser pointer across the lawn, through the mass of flags guessing at a location, the beam hit one flag square on.  Could it BE THAT EASY?!

Of course not.  We still haven't found it.  It has to be there.  As the rains came, the new seed and soil gently covered the plastic lid enough to grow over.  I will lightly hose this area to see if I can spot some white.  Otherwise it will remain hidden.

All for the want of time, a little glue, and 4 quarters.  Forget Pokenmon Go!

IN OTHER NEWS

Chicken jail has been busy.  Merriweather has come and gone.  Daisy spent three days in the lock-up.  Flora decided to be her companion and is still in.  She's a tough, mean, hyper broody.  She squawks, bites, and climbs the walls.  She also tries to escape at every opportunity.

With the weather cooperating, I decided to add the two additional nest boxes to the coop.  For the original nest boxes, I used Threshhold brand cubbies from Target.  I simply needed to add perches, a stop back and a piece of ply for the back.  I used a two by three cubby. Sadly they do not make a stack of one by three, just one by two.  That would be enough to add to the current next wall.  I put the cubbies together and decided that insead of centering the two on top of the 6, I would slide it over and have an open air nest area on the very end.  For the nest space, I simply purchased a large desk basket from Hobby Lobby for $8 and attached it to the cubby below it with screws and washers.  The girls LOVE IT!


The garden is starting to awaken.
The peppers are a total bust and I'll pull them at the end of the week. 
Today I will braid the white onions that have been harvested and drying for the past few days.
The yellow and sweet onions still have another week, at least, until harvest.
I harvested the potato plants last night.  6 plants, 6 potatoes the size of golfballs.  ARGH.
The grapes are going wild. 
The tomatoes are starting to set fruit, but the plants are suffering in our heat. I'm not holding my breath for a great harvest.
The nitrogen setting peas have been planted in the old onion and potato beds.
The cucumbers have decided to take over the world.  We've had plenty and by the looks of the vines, we'll have more than plenty. I made 9 quarts of dill slices and spears yesterday and today.

That said...

The county fair is next week.  I have garlic-onion-dill pickles, applesauce, dark sweet dessert cherries, jalapeno sweet relish, and jalapeno grilling marinade to enter.

We shall see.

From here on the Farm... Have a great week all !


Thursday, July 28, 2016

Badgers? We don't need no stinking badgers! (But we do need to contain screws and nails)

During Caryl's recent unplanned lawn-mowing,1 she discovered a fresh burrow in the ditch.  A quick visit to Google to compare burrow features tells us it was most likely dug by a badger.  We set up the game camera to observe the burrow and to confirm the identity of the owner (we'd have been perfectly happy to discover it was dug by a groundhog) for a few nights.  In the time the camera observed the hole, it captured only one video:  a fox investigating the hole for a few seconds.  On the last night we went so far as to leave some food just outside the burrow, and still nothing.  Our conclusion is that a badger dug the hole to get to a ground squirrel or some other prey, and it hasn't set up residence.  So I moved the dirt back into the hole, and so far nothing has dug back out.  So that's that.


Meanwhile, I decided to try to contain the various screws and nails we have in the barn.  They have a proper "home:"
But owing to the necessity of reaching that ledge over the workbench to put them away, they often end up like this:
So Caryl came across a storage unit that consists of jars attached to an octagonal cylinder (I subsequently found some that use a hexagonal cylinder or even a simple 4x4).
If you look closely, the sides of the cylinder appear to be from wood
stock that's thinner than a standard 1x4. Not relevant, just interesting.
Rather than duplicating that storage unit, I decided to be inspired by it.  As with the original, mine is octagonal, but I used 2x4s instead of the thin stuff used in the original, or even 1x4s. Yes, it made it heavier, but I figured all those jars of steel nails & screws would contribute more to the weight than the wood would (I briefly considered the possibility that I might not have been right), and I wanted to give the screws that held the jar lids to the boards something to really grab on to.

So, an octagon. Each corner of an octagon is 45°, so I needed to rip the sides of the 2x4s to make 22.5° angles. I traced a 45° angle from a square onto a scrap piece of 2x4, and then I bisected the angle. (Back in high school drafting class I learned how to bisect a line
segment with a perpendicular line. To bisect the angle, I drew an arc across the angle and then bisected the arc using the same technique to bisect a line segment.) I cut the scrap 2x4 along the bisecting line, and used the resulting 22.5° angle to set the table angle on the Shopsmith. I then ripped 2x4s that'll be the sides of the cylinder so they had beveled edges.  I decided to attach the sides together using a tongue-and-groove joint. The dado blade made quick work of this. (My dad later suggested a spline joint might've been easier. Something to consider if you decide to do this yourself.)

I glued together pairs of those 2x4s, and then two of those pairs made a half of the cylinder, and then two halves glued together made the cylinder.  I clamped it all together with a couple of straps and let it set overnight.

You'll notice that the original had the cylinder sides circumscribing the end caps; I decided to have the end caps fully cover the ends.  So I traced each end of the cylinder onto a 1x10 (yes, one of those 1x10s) to make the end caps,  I marked both the cylinder and the end caps so I knew which edge of each cap's octagon corresponded to which face of the cylinder, which cap went with which end of the cylinder, and which face of each in was inward facing and which was outward facing.  All this was to account for any imperfections that made the cylinder less than a regular octagon (which are unnoticeable on their own but stand out when the end caps are misaligned).

I could have simply screwed the end caps into the sides' end grain (and you'll notice in the original, the sides were screwed into the end caps' end & edge grain), but I decided to try a new (to me) technique.  Pocket joinery.  Someone described a pocket joint as an "engineered toe nail," and I'd say that's a fair description (though I wonder if "toe screw" might be more apt).  It involves drilling a pilot hole for a screw's shaft at an angle from the face to the end of the wood and also a larger diameter hole coaxial with the pilot hole that serves as a countersink for the screw's head.  You can buy a drill bit that does both holes at the same time and a jig to control the motion of a hand-drill.  As for me, I angled the Shopsmith's table, affixed the drill bit chuck, and used it as a horizontal borer, first with the pilot holes and then with the countersink holes.  I've decided that if I do more pocket joinery then I'm at least going to invest in that drill bit.

A couple of steps before painting.  I found the centers of each end cap and drilled holes for the axle with a Forstner bit.  Since my original alignment marks would be covered by the paint, I made some blue paint splotches on the ends of the cylinder and on the inside face of each end cap, let them dry, and then masked them with painter's tape.  Now I painted the whole thing red (with the end caps off) and let it set overnight.  When I removed the painter's tape, I had my alignment marks.

The axle is a portion of an old closet rod.  Using the Shopsmith's belt sander, I made the ends a little thinner than they originally were, so they slipped through the holes I drilled in the end caps.  Just a little further inward, I drilled pilot holes and drove in a couple of nails to act as stops so the cylinder couldn't slide up & down the axle by more than about an eighth of an inch.

Now, there are two reasons I used an old closet rod for the axle.  The foremost reason is because it was available.  The other reason is because rather than being a tabletop design like the original, my storage unit will be attached to the wall and supported by a couple of closet rod brackets that we had laying around (hand, meet glove).  To keep the axle from sliding up and down on the brackets, I needed stops on the ends.  The nail solution from the previous paragraph wouldn't work because the nails might catch on the brackets and not allow rotation.  So instead I used a hole saw to make a couple of discs and drilled a hole for the axle into each.

For the jars, I used 1-pint canning jars (the extras to be used for food canning).  I pre-punched holes in the lids and drove screws through the lids into the cylinder, using washers for a little extra purchase on the lids.  I hung it up, and it works like a charm.

And, yes, the screws add considerably more to the weight than the wood does, even after filling only a few jars.


1unplanned lawn-mowing: She was only going to mow around the Oodelally Egghouse until she ran out of gas.  I drove to the general store and returned with full jerry cans, so she never ran out of gas.

Sunday, July 17, 2016

When last we met....

When last we met;
the Garden was struggling.
Daisy was in jail.
July weather thought it was October.
the trees at the station were having to be pampered every two days with the garden house.
the chickens were crazy.

So fast forward to THIS week in July.  We've been hotter than the surface of the sun.  Then, gloriously, we had three days only in the 70s and low 80s.  The garden was much happier in this weather. The heat, even with watering, is tough on the plants.  My poor neighbor has 3 foot tall corn in full tassel. My tomato plants are only half the size of normal, and the tomatoes are splitting in the heat, if they get tomatoes at all.  The cucumber plants are leggy and the fruit develops so quickly and sparsely, it looks as if they'll be no pickles this year, unless I buy pickling cukes. We get a large handful of raspberries every other day from 4 plants, and the grapes are looking well. 

The white onions started falling over this week, a sign they are ready for harvest.  The poor things have endured hail, cold, and blistering heat, so I'm happy they made it this far.  I harvested all the white onions, and they are only half the size of normal.  This is actually fine as it is the perfect size for cooking without having to freeze or dehydrate left over onions.  They are now in their harvest box in the sun to dry their outer skins before I braid them to store.  The yellow and sweet onions are still going gangbusters!

In the empty onion, and soon potato, beds, I will plant with cow peas to add nitrogen back into the soil for next year.

Daisy was tough to break and spent almost a week in chicken jail.  This was immediately followed by Olive spending a three day hitch.  (I'm going to dub this the broody summer.)

After our glorious three day break from the miserable heat and humidity summer will be back upon us with a vengeance.  We are looking towards 7-10 days of 90-100' with a heat index kissing 115'.  Mercy.

Knowing this misery was setting upon us, I pushed up one of my Station projects up to NOW instead of this fall.  The trees on the station, especially the new transplants, are suffering in the heat and the lack of rain.  To combat this problem, I would spend 45 minutes every two nights, with the hose, watering each of the 30 trees in the orchard.  Not only was this a mindless, boring task, but it was HOT!  My plan was to eventually install a drip irrigation system, which would gently water each tree over time, with little evaporation, and best of all, wouldn't cook ME!
One tree hid her apples from me during the post hailstorm picking. 
The don't look too bad either.

So off the hardware store I went.  Drip irrigation can be relatively simple.  Usually used at nurseries or in flower beds, or well planned veg gardens.  An orchard is a large project.  Each of my rows is 150 feet.  I designed it so that it is a giant, elongated, capital E.  With the long connector at the topmost portion of the hill.  This is also where the hose connection is.  When the hose is turned on, water fills the 100 foot laterals and then the small feeder tubes that are snapped into the main truck lines and run to each tree with a small drip head on the end.  The downhill ends all have screw off caps for full water release in the cold months so it doesn't need removed in the winter. It took two additional trips to the store, and spanned two days, but it works brilliantly! (Total cost of supplies, about $130.)


The chickens?  Well, they're still crazy.  I did hear from the little chicks new mommy this week.  Little Doris, the polish pullet, was taken by a hawk this week.  Poor little thing.  Chicken keeping is hard when they make such an impression on us, but we are better for it in the end.
First time we've seen this one near the Station.  It's a golden headed blackbird.  He hung around a few days and left again.

The cattle have come up the hill for a visit.  The next camera shot was of the chicken running up
to the fence to make faces at them.  My chickens LOVE BEEF!

Ethyl being, well, Ethyl.

Until next time ...


Doc here:
Caryl forgot to mention a couple of things she's done to help the chickens beat the heat.  The first is the old standby:  a block of ice with strawberry tops (or other yummies) in it:  cold, rehydrating, and fun!  The other is a loose-weave tarp that she bought and hung off the southwest corner of the run to provide some shade against the afternoon heat.
Andy (on the left) is starting to resemble Zap, except
that Andy is black where Zap was blue


The other recent development is that we finally got our Pollinator Habitat certificate in the mail.  Looks like only four people were faster than us in getting registered.

Sunday, July 3, 2016

July, Glorious July

Since we had July in June, Mother Nature decided to turn the first few days of July into October.  It's been pouring rain, foggy, and COLD.  Our high yesterday was only 62'. I was actually wearing a sweatshirt last night.  NO ONE is complaining.  We all need the rain desperately.  We also needed a break from the hideous heat.  But not to worry, it will be back to a heat index of 105 on Thursday.

The clover in the yard is filled with pollinators and it is almost 6 inches high.  It smells so fabulously delicious when it is freshly cut.  It also shades the lawn and keeps evaporation down and holds the moisture in the soil by shading it.  It spreads like mad, but even so, I ordered another 15 pounds of seed from stockseedcompany.com so I can help it along in the fall.  That said, we applied for our pollinator safe/friendly certification and were one of the first to have been accepted :D  OH, we heard out first cicada July 2nd, so by folklore, 90 days to the first frost.

For my local readers that are interested in pursuing this here is the link. http://entomology.unl.edu/pollinator-habitat-certification

On the chicken front, the silly 7 - dot, doris, peaches, honey, katrina, bb, and lacey- have moved to their forever home about an hour and a half from here.  They will be the little siblings to 4 RIR, two ducks, and a great dane!  I KNOW they will enjoy all the woods and the giant barn and coop/run set up.

The fox has been taken care of.  She was not lactating, so no young.  She was just moving into a new territory and chose the wrong prey.

Doc installed a new shelving unit in the barn.  We set the top shelf quite high for storage, and the middle shelf just the right height for taking care of chickens in cages.  This is our new Chicken Jail set up.  As you can see, Daisy is our first customer.  It took her a week to break, stubborn little beast as she is.


She had a buddy for a couple days, as we pulled our cream legbar pullet, Bea, to treat her for whatever was ailing her.


I have also drawn up the plans for a run extension that will act as a year 'round wind break.  I won't be getting to that until the weather cools way, way down!

The hailstorm mentioned on earlier posts did some serious damage to the orchard and the other trees around the property.  The damage to the leaves was damage to the tree's feeding system.  The wet and cool Spring was quickly followed by searing heat and a serious lack of rain.  By last week, we had cracks in the orchard that were 3 inches wide and went down 12-18 inches.  When we watered our sad trees, you could hear the water racing down around the root balls, and just disappearing to heaven only knows where.

By early this week we knew the trees were gone.  Of the 10 new trees planted this April, 8 were dead.  The stores graciously took them back and replaced them.  Every tree on the property was amazingly watered by nature, 1.5 inches last night, and today we planted new trees and gave every tree an 8" water saving blanket of cypress mulch.  After all, we still have July, August, and September to go!

The third week of June is Mulberry picking time.  BUT since we got so hot so fast, it came early this year.  And this year, I was busy with a fox.  So I entirely missed Mulberry season :(


But let's get down to happier business. 

Late June is CHERRY season!

This year, instead of driving two hours to pick my own cherries, a local market was selling fresh Washington State cherries for only $14 a lug, which came to about $1.50 a pound.  Needless to say, two lugs followed me home.

I also brought home two of THE CUTEST cherry pitters EVER! 


Sure I could use my antique hand crank pitter, but it knocking out the pit and tossing it clear of the meat is hit or miss. (Last year at the fruit farm I had them pit 10 pounds of fresh cherries on their giant mechanical pitter from the 60s, and it failed to pit over 80% of my cherries.)  I could have handed Doc all 22 pounds of cherries and just let him enjoy them, spitting pits as he went.  But I suspect that he would get sick of eating them, and probably couldn't eat them fast enough before they went all green and furry.  So hand stemming and hand pitting was the way to go!  No matter what you make with the cherries, they have to be pitted first. 

My adorable pitter allowed me to hold the pitter in my right hand, feed it with my left and catch the pit, and then toss the pitted cherry with a flick of the right wrist into a waiting bowl. IF the pit fails to hit the pin, or fails to be ejected, I know it immediately and plunge it again.

It went quite quickly with The Boy helping with the stemming. 
22 pounds of cherries in two hours.  I ended up with 3 pints of seeds, which I dried in the Excalibur Dehydrator overnight and popped into mason jars with oxygen absorbers and tossed into the back of the refrigerator until Fall, when I will plant them and see what comes up in the Spring!

So you have 22 pounds of fresh pitted cherries, and the clock is ticking.  What do you do?  WHAT DO YOU DO?!

The obvious thing to do was to fill every square inch of all 9 trays in the Excalibur. Done.

I then took my largest cookie sheet and covered it in parchment paper and tossed them into the deep freeze overnight to freeze them individually. Then I simply tossed them into a freezer bag. Done.

What else?! Oddly enough, I made NOTHING with the fresh cherries.  LOL.

MARISCHINO cherries are a MUST! So here is my recipe for an alcohol free cherry.  When you are done, you can process these in your water bath canner for 15 minutes for pints at sea level, add 5 minutes for each additional 1000 ft.

This is SO simple it is silly.

2 cups of CHERRY JUICE (Read your label and do not use mixed juices or flavored juices - like JUICY JUICE kids flavored drink.)

1000 grams of clean pitted cherries
100 grams of granulated white sugar
2 Tablespoons of almond extract.

Mix it all together and place into a plastic or non reactive container ( NO ALUMINUM).  Store in the refrigerator for 24-48 hours covered, stirring at least once during this time.  You can then fill your sterilized jars and process.  If you need for liquid simply top with cherry juice.  You can also store in the refrigerator for up to three weeks. 

The menfolk have trouble staying OUT of these.

Since we are speaking of fruit.  I purchased a bunch of bananas this week and like normal, hung them on my flip away banana tree.  When Doc wandered into the kitchen Saturday morning, he was met with quite a surprise.  SERIOUSLY?!  All on their own!  Crazy nanners.