 |
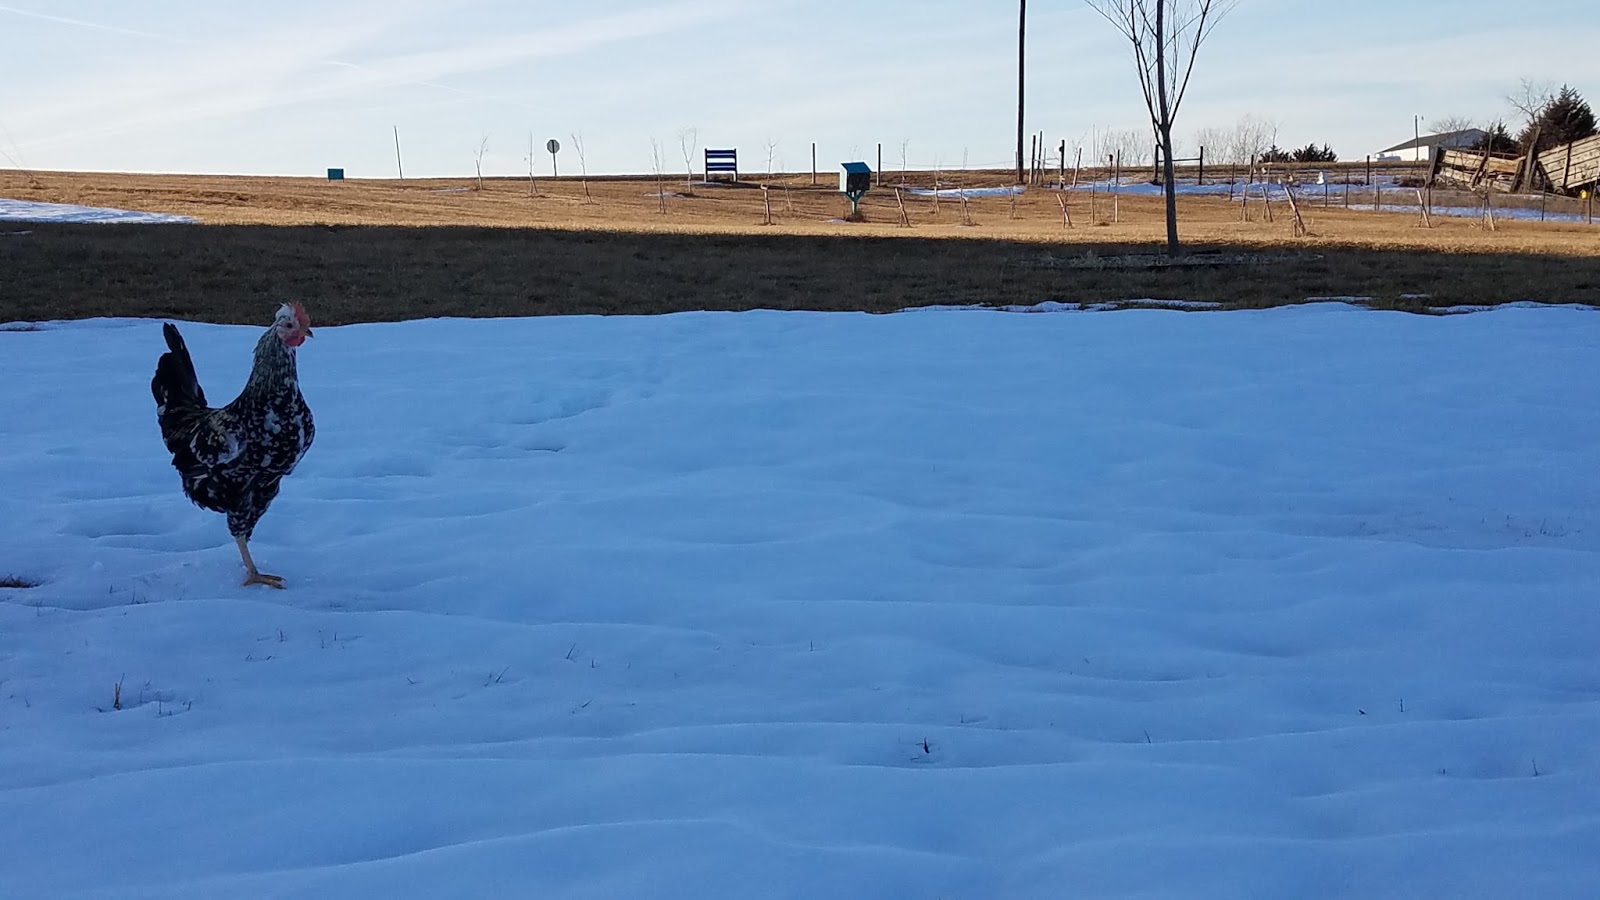
| Freyer vs the Snow - He plays the snow is lava. |
As you remember, shortly before Christmas, contractors were able to take full advantage of one not too horrible day, and managed to assemble the shed in the pasture. And then came the snow and the cold, the bitter cold, for weeks. The camel colored blob stared back at me every time I looked out over the pasture, it's giant mouth agape. We just had to have a nice day, or two, and get that beast painted. Surely we would thaw a little bit in January?
 As I poured daily over weather models, watching wave after wave of arctic air descend from the North or moisture laden air sweep from the Pacific Northwest. I re-evaluated my list of projects to those that could be tackled inside. The walls of the livestock barn needed built up and kick boards installed. I could do that inside, unheated, but still inside. I called up my local mom and pop lumberyard. While I waited for delivery, I decided to walk the orchard and do the winter clean up and pruning. Two hours later, I had a pile of plywood in the workshop driveway. How's that for service?
Sadly, the driveway isn't where I was working. All 22 sheets of plywood had to be dragged to the livestock barn before the next snow. Sigh. Did you know that a sheet of 3/4 inch ply weighs 70 pounds? My flock of supervisors were of no help what-so-ever, but offered a number of suggestions.
A long, very long, extension cord from the workshop and a pair of saw horses, and a circular saw made quick work of the wall panels, and a portable power supply gave me the ability to run the drill with a screw bit to get the walls up. Our cordless screwdriver just wasn't up to the task. It took three full days, but the walls in the stall area are up.
The next day, which was a little warmer, coming in at 32 degrees, was filled to building the frames for the corral fence that are under the barn porches. My fence guy wasn't comfortable doing it. He just couldn't see what I was describing, so I said I would tackle it myself. The second day of this project was still 32 degrees, but the wind was starting to howl. The final boards went up and the confused birds in the corral couldn't figure out how to get back out and had to be shown the door.

 The birds were lucky to get out for a few days and wander around, because the next day brought a blizzard. What a mess. It started just before sunrise but didn't really get going until morning. Almost everything was closed. Every enforcement official was begging people to stay off the road, so naturally Doc's job was open for business. He made it to the University, where classes were in full swing, but there was no way he was going to make it back home, uphill, down country roads, where snow plows weren't even risking going out. Doc got to spend his night the dorm with The Boy (with full University permission.), which meant I got to plow snow all the next day and try to explain to the chickens why they couldn't come out to play.
The snow quickly melted away, and they contractors came (finally) to install the gutters on the livestock barn. While they worked outside, I worked inside on the lights. Yes, lights. No, the livestock barn doesn't have power. I found LED shop lights that put out an insane amount of light, can be hooked together in series, and run off the portable power supply! BOOM, let there be light.


Temperatures continued to tease. We were hitting 40 far too late in the day, so the next project was up to bat. The kick boards in the barn. Doc had to help me with this one. Five 70 pound sheets of wood needed to get down to the pasture. He helped me get them into position until I could get two support screws into them to hold them up. When this was finished, I was left with finished walls 4 feet high and walls and studs above that. I COULD just paint it all and call it a day, but the thought of painting all those exposed 2x4s was sickening. For 5 sheets of half inch plywood and some elbow grease, I could have easy to paint walls. And as long as I was ordering plywood for the rest of the shed, why not order the plywood for the rest of the inside of the livestock barn. A quick cell phone call to Mom and Pop Lumber, and two hours later, another large stack of plywood. But this time I was home and he drove right up to the barn to dump it. I only had to pull it 10 feet to a dry interior.
This time my helpmate was at work, but I wasn't going to let a 35 degree morning, albeit windy, go to waste. There was no way I was going to be able to control full sheets of plywood in 25mph winds, AND be able to lift them, hold them, and secure them 4 feet off the ground alone. I decided to cut them as close to in half as the stud spacing would allow and take them down the hill in smaller pieces. It took a ridiculous number of trips up and down the hill, and a silly amount of swearing, but the final pieces of wall were up by lunch.
Well by lunch it was 45 degrees and would stay at least that until hours after sundown. Again I tromped up the hill and returned with my ladder, rollers, and can of bright Lapis Lazuli paint (think dark, bright chickory flower blue). Each of the three coats was interrupted by me having to break up fights between Andy and Wookie, but eventually the interior was complete.

The next day started out warmer and was a designated shed painting day! The textured, grooved wood proved to be a royal pain to paint and about an hour into the project of the day, my body was screaming from days of long hard work. This day was the last in a while that I could paint, so I pushed through and kept painting. The day allowed for three solid coats of storm paint in Dark Truffle brown. The only downside was that I was unable to reach the top 12 inches of trim work on the downhill side. Being trim, I couldn't paint that area with the small roller. Disheartened, I decided to mount the new quilt square and call it a day. (I did call the neighbors on that side of the shed and apologize for the unfinished top, and assured them it would be painted as soon as we hit 40 degrees and either Doc was home to hold the taller ladder for me or my arms grew 6 inches, whichever came first.)
Three days later, Doc was indeed home, took the long ladder down the hill for me and held it until I could paint the tiny area that was still tan. As long as he was being handy, I had him drag the ladder into the corral and hold it for me as I installed the screech owl house. Yup that's right, a screech owl house. Why not?
 This amazing little house quickly became my project nemesis. Hang a bird house, easy right? Sure, 10 feet up. No problem. I have a ladder. The post it goes on is on a slope, so just lean the flattened ladder on the hill against the post and hold onto it with one hand, lift the bird house up with another, hold the top hinge door open to access the screw holes with another, hold the bolts with another, and then simply grab the drill to secure it to the post. What you don't have 5 hands? Ya, me either. Once your kid is out of pre-school, all those extra, invisible mommy hands magically disappear, unless you have more toddlers in the house.
I finally came up with a plan about 3am one day. I would hang a large head roofing nail to the post. Attach a sawtooth picture hanging bracket on the back of the owl house, and use long pieces of painter's tape to hold the top hinged door open to access the mounting holes. With Doc holding the ladder, I hung the house on the nail, pre-drilled the holes for the bolts and mounted the house and tossed in handfuls of bedding. PHEW. We mounted a perch post and called it a day.
I still have plenty of projects lined up, but the light is on at the end of the tunnel.
The wood in the corral still needs painted, as do all the wood walls in the livestock barn.
I need to finished the wood walls in the non-stall area of the livestock barn.
Dirt and gravel needs added to the corral and shed area.
Sand and gravel needs added to the stall area.
The stall walls need (ordered) and assembled with a LOT of wood pieces.
Rubber floor mats need (ordered) and installed.
The electric fence needs installed, all 7 wires and the control box needs mounted.
The rain barrels need installed and their lids built and painted.
The chicken coop needs a fresh coat of paint as does the concrete on the house and the posts on the deck.
All the fun stuff for critters needs installed, stock tanks, tools, feeders, bins, etc.
As if my list wasn't long enough, I also decided that raised bed planters are the way to go. Sure why not?
Chicken Update

OH, remember how I said Andy and Wookie were fighting? Boy, oh Boy were they ever. Wookie is about half again as large as Andy, big boy. He was in the spa for almost 3 weeks while he rested his twisted ankle from a hen chase down the hill. Doc and I were headed into town and I decided to toss Wookie back in the coop before we left. BAD IDEA. He had been gone so long that he and Andy were no longer tolerant buddies (father and son). A battle for the Alpha rooster happened
 while we were gone. When we returned, the run was splattered with blood and the coop looked like a scene from a horror film, a dark mass cowering under the nesting box. I thought it was Wookie, daddy having put him in his place. To my surprise, it was Andy. His giant comb a target for an angry, hyper, hormonal child. A week in the spa for Andy, but he would not return to the coop. Even when free-ranging they steered clear of each other. So he lived in the workshop with Cirrus, who was molting. This past week they noticed each other again. One fight I broke up was so full on that Andy broke off a spur. Wookie had to go. He now lives on another acreage with two hens of his own. I will miss Wookie, he was gorgeous, and sweet, snugly, and a good protector, but peace in the coop is important. Andy is again king of the coop.
The Icelandics are crazy. They all have their coop names now. We have Freya, and Freyer, Delmar and Inar, and finally Ari and Astrid. They all sleep outside in the run, even when the temperature drops to the -20's. Amazing. They are fast, skittish, smart, and very inquisitive and vocal.
 |
| Top L to R Merriweather, Freya, Astrid, Freyer, Inar Bottom Ari, Delmar |


